No products in the basket.
Electric Underfloor Heating Experts
Need Help & Advice? +44 (0)1803 316131 sales@romaheating.co.uk
Basket
Did you know we also do?
Heating Accessories
See All Heating Accessories 
Quick Deliveries
Competitively Priced
Lifetime Warranty
Click & Collect
Decoupling
- SSF Self-Adhesive Decoupling Membrane
- Loose Cable Decoupling Membrane (Self Adhesive)
- Waterproof Tanking Corner - Internal / Self-Adhesive
- Waterproof Tanking Corner - External / Self-Adhesive
- Waterproof Tanking Corner - External
- Waterproof Tanking Corner - Internal
- Showerliner - Wall & Floor Tanking Membrane
- SP Decoupling Matting
- SF Decoupling Matting
- HC Decoupling Mat
Wetroom Accessories

Quick Deliveries
Competitively Priced
Lifetime Warranty
Click & Collect
Manual Thermostats
Digital Thermostats
Wi-Fi Thermostats

Quick Deliveries
Competitively Priced
Lifetime Warranty
Click & Collect
Under Tile & Stone Floors
See All Insulations 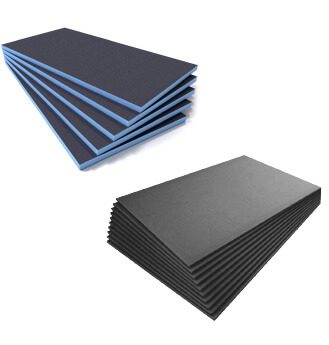
Quick Deliveries
Competitively Priced
Lifetime Warranty
Click & Collect
Self Levelling Compound
See All Adhesive & Levelling Don't Forget Your Insulation Boards
See All Insulations 
Quick Deliveries
Competitively Priced
Lifetime Warranty
Click & Collect
Home » Articles » Heating Mat »
How To Install Underfloor Heating Under Tiles
Date Published: . By Roma Heating
Underfloor Heating Under Tiles
Electric underfloor heating is a popular choice for many homeowners due to its efficiency, comfort, and versatility.
It is an ideal heating solution for tiles, as it provides a warm and comfortable flooring surface that is easy to install and maintain.
Installing electric underfloor heating under tiles is a straightforward process, but there are a few key steps to follow to ensure that it is done correctly.
In this article, we will provide a comprehensive guide on how to install electric underfloor heating under tiles.
Tools and Materials
Before you start installing electric underfloor heating under tiles, you need to gather all the tools and materials that you will need. The following is a list of the tools and materials that you will need:
- Electric Underfloor Heating Mat
- Thermostat
- Floor Tile Adhesive
- Tile Cutter
- Trowel
- Spirit Level
- Measuring Tape
- Insulation Board
- Electrician’s Tools (Such As Wire Stripper, Multimeter & Screwdriver)
- Tiles
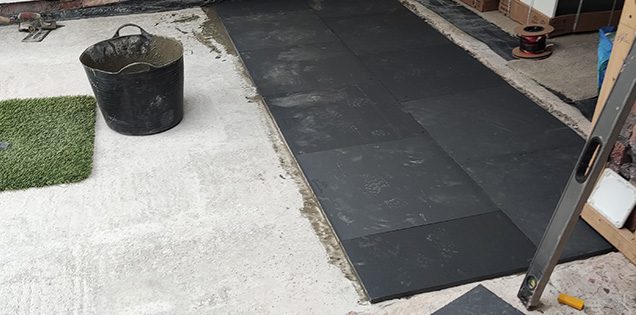
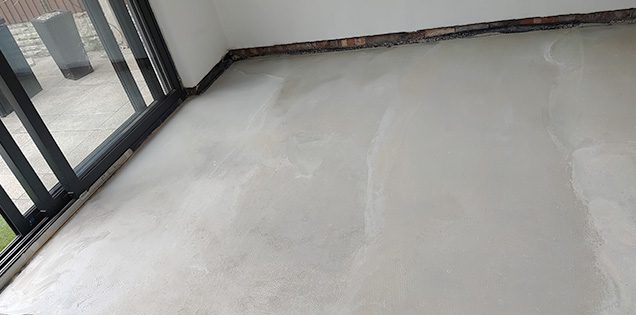
Preparation
Before installing electric underfloor heating, make sure the floor is clean, level, and dry.
This is important because the heating mat must be in close contact with the final floor to ensure even heat distribution.
If there are any cracks or holes, fill them with floor tile adhesive to create a smooth, flat surface.
Next, measure the area where the heating mat will be installed.
Cut the insulation boards to fit this area. These should be placed directly on the floor to create an even base for the heating mat.
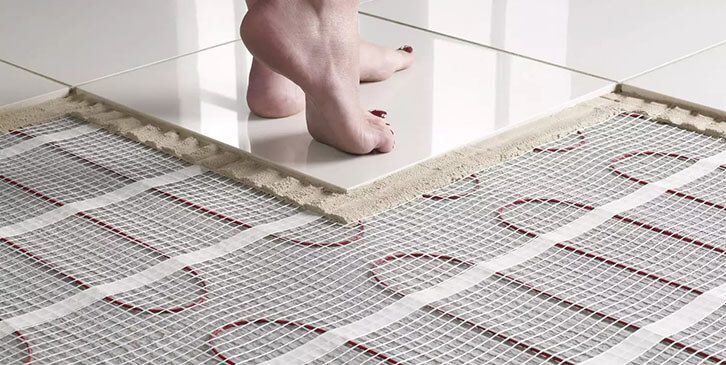
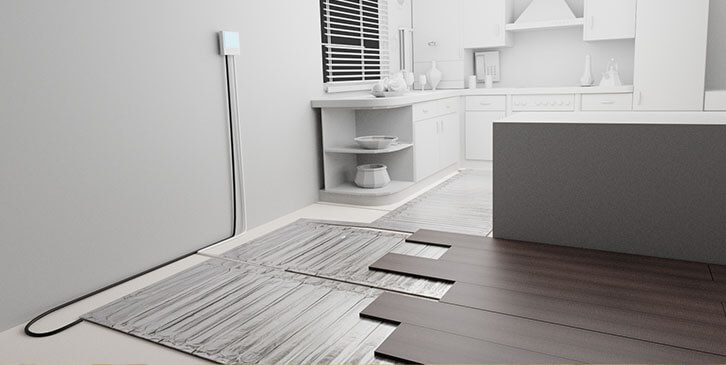
Installing the Heating Mat
Start by rolling out the heating mat directly onto the insulation board. Ensure the heating element faces upward for optimal performance.
Roma Heating mats are self-adhesive—simply press them firmly onto the insulation to secure them in place.
Next, connect the mat’s cold tail to the thermostat. The thermostat must then be wired into the main electricity supply by a qualified electrician.
Each thermostat includes a floor probe, which should be positioned evenly between two heating cables for the most accurate temperature reading.
Before making any electrical connections, perform a continuity test to confirm that the mat is undamaged and properly installed.
Laying the Tiles
Once the heating mat and floor probe are connected to the thermostat, you can begin tiling.
Start by spreading tile adhesive with a trowel. Take care not to damage the heating elements beneath.
For added protection and a perfectly level surface, apply a layer of self-levelling compound before tiling.
Carefully place each tile onto the adhesive and press down firmly.
Check each tile with a spirit level to ensure they’re flat and evenly spaced.
If needed, cut edge tiles to size and fit them flush with the surrounding tiles for a clean finish.
Testing the UFH System
Once the tiles are in place, you need to test the electric underfloor heating system to make sure that it is working correctly.
Perform a final continuity and leak to earth test with a multimeter to confirm that the mat is undamaged.
You should only turn on the thermostat and let the heating mat heat up only once the self-levelling and tile adhesive is dry.
If everything is working correctly, the heating mat should heat up evenly, and the tiles should be warm to the touch.
Need Any Help, Get In Touch?
Installing electric underfloor heating under tiles is a straightforward process that can be completed by most DIY enthusiasts.
However, if you are not confident in your ability to install the system, you should consider hiring a professional electrician.
At Roma Heating, we are here to assist you or your installer right through the project.
Get in touch!
At Roma Heating, we offer a personal experience. That is tailored to get you the right product at the right price.
For more information on any of our products please get in touch, we are here to help.
Call Us
Email Us
Get A Quote
Can I get a completely free, no pressure Underfloor Heating Quote? ... At Roma Heating we know working out what you need can be a daunting task so let us take the pressure off.